A homemade Blissful No Bake Custard Milk Tart recipe with condensed milk. Tennis biscuit base makes an easy fridge tart dessert.
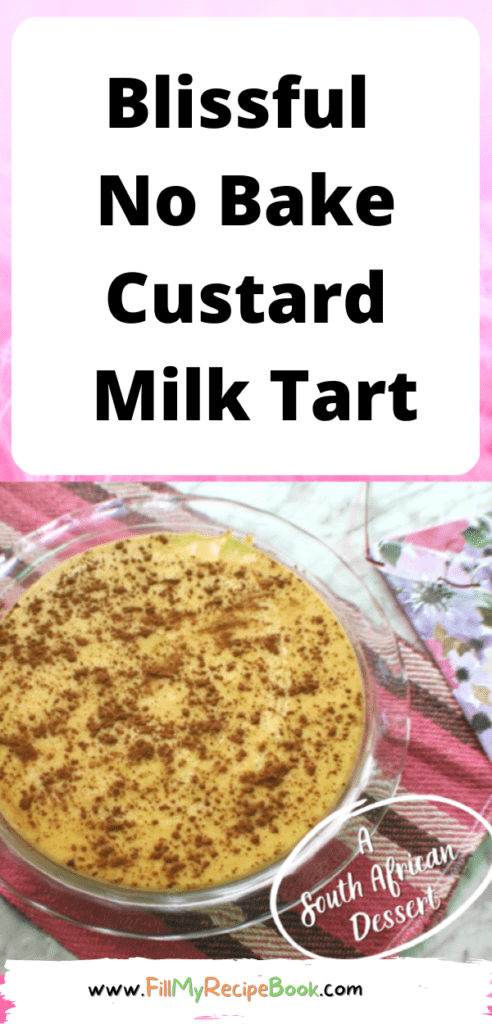
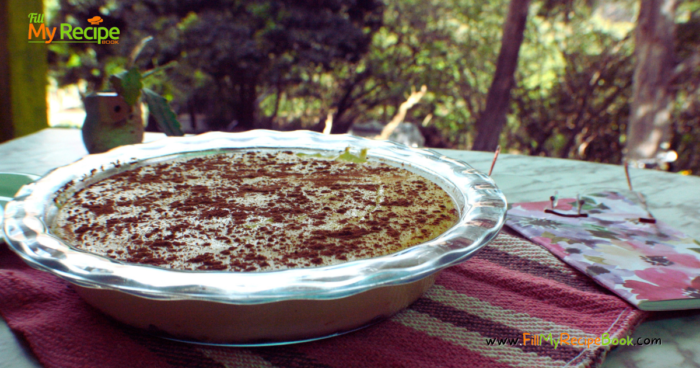
Blissful No Bake Custard Milk Tart.
A blissful no cook and no bake custard and condensed milk tart with tennis biscuit base dessert is so easy and delicious. A South African recipe idea that is similar to fridge tarts. A pleasing dessert to make on a stove top and chill in the fridge for tea time. Powdered with cinnamon on the top. Love this south African blissful custard milk tart that is very versatile and may be used in mini tartlets or trifles.
Why is my milk tart not setting?
Allow the milk tart to cool at room temperature. It may not be setting as you did not use enough custard and corn starch to thicken it or cook it enough until it was thickened. Be sure to use the best quality ingredients.
Can you freeze milktart?
Milk tart can be made up to 2 days in advance and kept covered in the fridge. Leftover will keep in the fridge for up to 3 days. Freezing is not recommended as the custard might change texture once thawed. But does freeze well for a short period of time.
What is the best substitute for tennis biscuits?
You can substitute the South African made tennis biscuits for any coconut biscuits or graham crackers. Any type of coconut or plain biscuits you can purchase in the country you live in will do. If you would like the coconut flavor of the biscuit then add some desiccated coconut to the biscuit and mix in.
Ingredients
View the recipe attached for the instructions and full ingredients.
- Milk
- egg
- condensed milk
- tennis biscuits (or other)
- corn flour (maizena)
- Custard powder
- vanilla Essence
- soft butter for biscuit base.
- Cinnamon (to sprinkle on top of tart)
How To
Made with milk and a tin of condensed milk, brought to a boil. A paste is mixed with the other ingredients such as some milk from the main measure. An egg, corn flour and custard powder and vanilla essence. (please follow the recipe directions attached)
But firstly you blend or smash some tasty biscuits or tennis biscuits and melt butter to mix with this. A base for the milk tart, or many other tart recipes. Pressed in the pie or tart dish. Chilled in fridge until the custard milk tart filling is poured into it.
What is interesting about milk tart?
The milk tart or melk tert (in afrikaans) is one of the South Africas most traditional sweet tart or pie. It originated by the Dutch settlers in the cape of good hope. Dutch settlers introduced the milk based filling and the Cape Malays added the cinnamon flavor. The result is a rich, creamy custard filling with a hint of cinnamon.
You get the milk tart that is almost like a fridge tart and is not baked in the oven. Then there is the traditional oven baked milk tart with a pastry bottom.
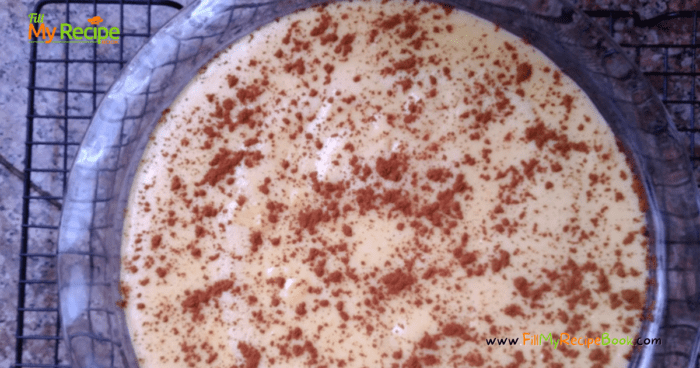
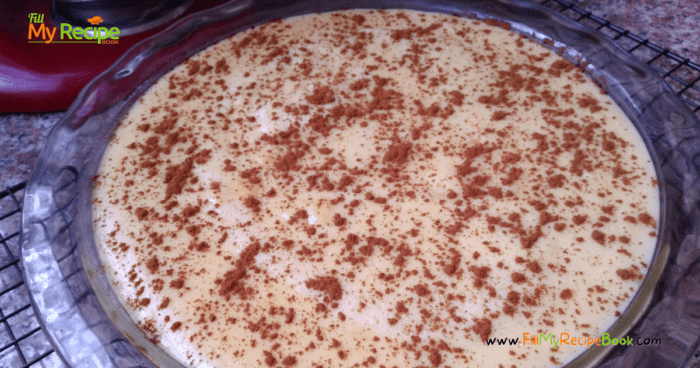
Once the paste mixtures made mix it into the hot milk and keep stirring until thick. Sprinkle with cinnamon for extra taste and cool on a cooling rack at room temperature for at least an hour. When cool enough place in the fridge to set further.
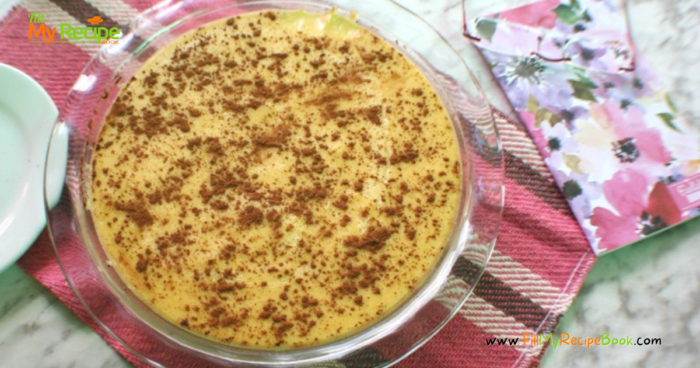
An amazing no bake winner of a custard milk tart, very versatile.
Use for a trifle with or without other ingredients. Simply make the biscuit base then layer the custard milk tart over, layer the biscuit again. Continue in this manner and sprinkle a cinnamon pattern on top. Favorite.
Recommendations.
(click on the highlighted heading or image for the recipes)
Fridge tarts or desserts
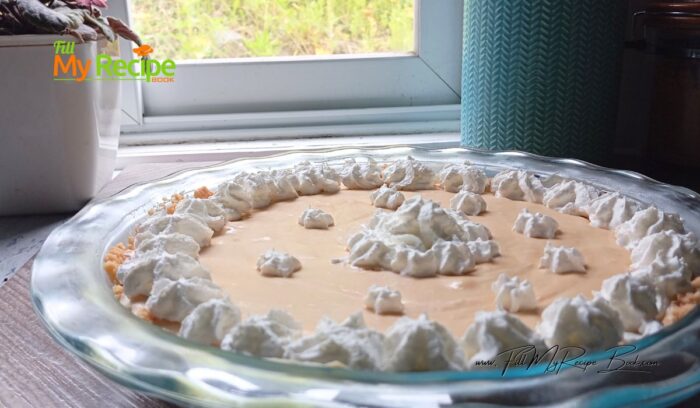
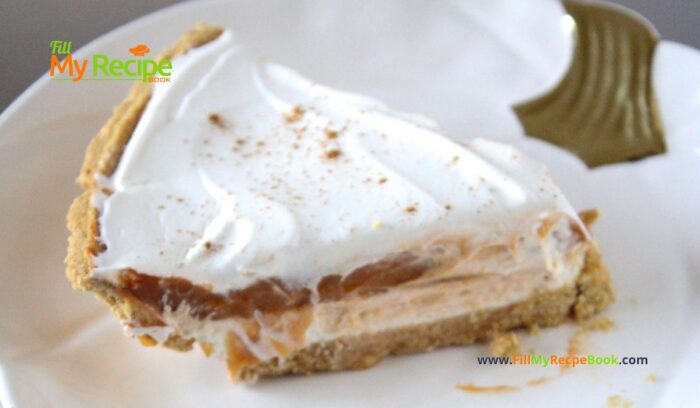
- No Bake Caramel Cream Tart
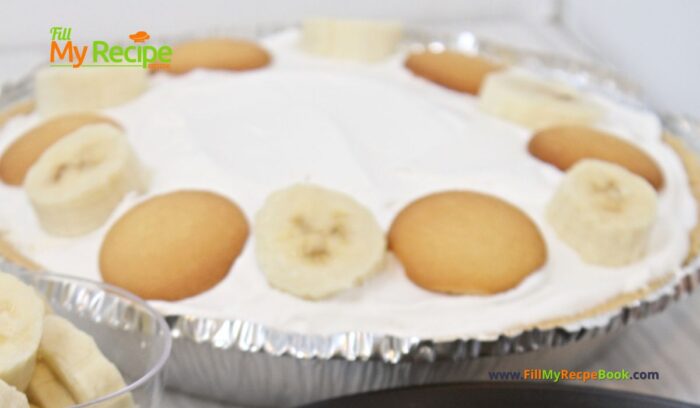
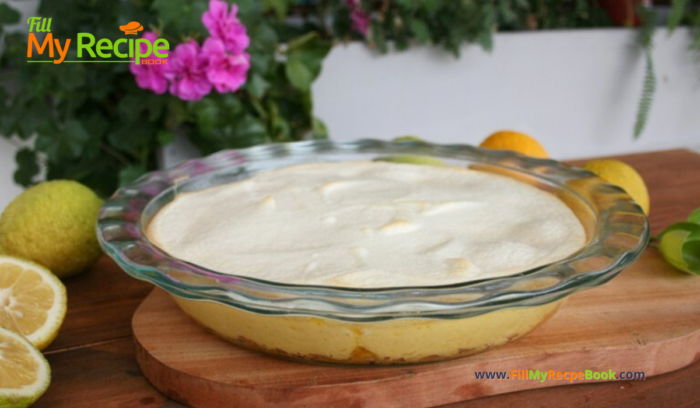
- Easy Banana Cream Pie Recipe
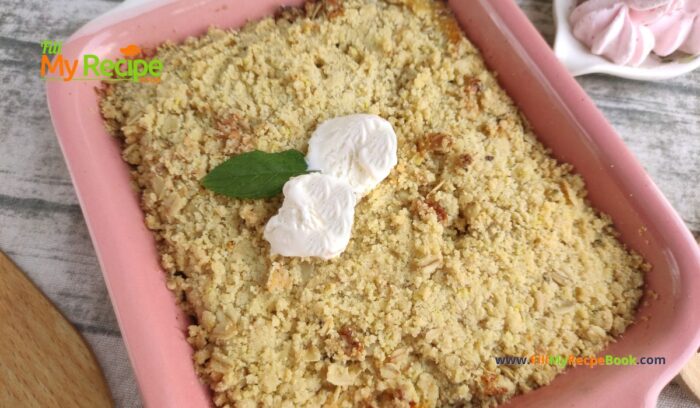
- Easy No Bake Pumpkin Cheesecake
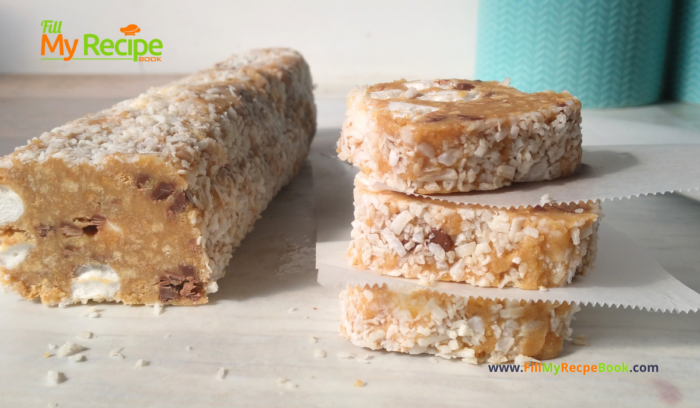
- Marshmallow Fridge Cake Biscuits
- 11 Easy Fridge Tarts
- Simple Fruit Skewers Appetizers
- Raspberry White Chocolate Truffles
- Tasty No Bake Tiramisu Tart
- Chocolate and Peanut Butter Balls
- Peanut Butter Caramel Brownies
- Healthy Chocolate Avocado Mousse
- Chocolate Raspberry Cheesecake Parfait
- Tasty Syrupy KoekSisters
- Best Homemade Milk Tart
- Easy No Bake Truffles Recipes
- Tasty Milk Tart Recipe
- Best Homemade Milk Tart
- 11 Easy Fridge Tarts Recipes
- 10 Tasty Fridge Tart Recipes
Mothers Day recipe
dessert recipe
Fathers day recipe
Christmas Desserts
Oven baked recipes.
28 Awesome Kitchen Accessories
Here are 28 rather awesome accessories to use in the kitchen! We might not NEED some of these, but they are hard resist!

Blissful No Bake Custard Milk Tart

A homemade Blissful No Bake Custard Milk Tart recipe with condensed milk. Tennis biscuit base makes an easy fridge tart dessert.
- Prep Time: 20 min
- Cook Time: 20 min
- Total Time: 40 min
- Yield: 10 1x
- Category: Desserts
- Method: Stove top No Bake
- Cuisine: South african
Ingredients
- 1 Litre of Milk
- 1 egg
- 1 Tin of condensed milk
- 1 Pkt of tennis biscuits (or other) 200g
- 2 Tbsp of corn flour (mazena)
- 1 Tbsp of Custard powder
- 1 tsp of vanilla Essence
- soft butter for biscuit base. 100g
- Cinnamon (to sprinkle on top of tart)
Instructions
- Crush the biscuits until fine and mix in the melted butter.
- Grease and line the pie or tart dish with the biscuit mix, as a base. Keep in fridge until needed.
- Use a small bowl add some of the milk, for instance 250 ml. mix and whisk in the corn flour and custard, egg and vanilla. Make a smooth paste.
- Bring to boil the rest of the milk and condensed milk. Remove from the stove.
- Add some of the warm milk mix with the paste and whisk until smooth. Then add the paste to the warm milk mixture, mixing all the time. Place the pot back on a low heat, stirring until the milk mixture thickens and is smooth.
- Pour the milk filling over the biscuit base. In the tart or pie dish.
- Sprinkle some cinnamon over the top while warm and leave to cool at room temperature until cool.
- Place in a fridge to cool before serving.
Notes
This is the most amazing tasty and delishes custard milk tart recipe I have tasted and made. It can also be made as a trifle with biscuit base layered between the filling. It is blissful, believe me.
Choose more No Bake Stove Top Recipes.
Download some FREE Printables.
This no bake custard milk tart looks absolutely delightful! I love how easy it seems to make, and the flavors sound perfect for a sweet treat. Can’t wait to try this recipe myself! Thank you for sharing!