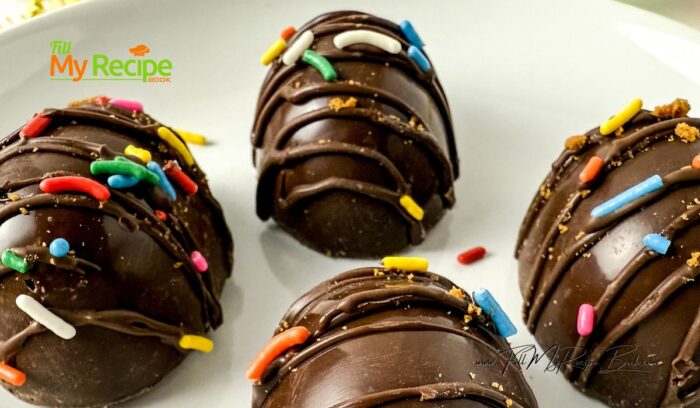
Marshmallow Chocolate Eggs Recipe with cookie butter. Best DIY homemade idea with a mold, filled marshmallow fluff, decorated with sprinkles.

Marshmallow Chocolate Eggs Recipe
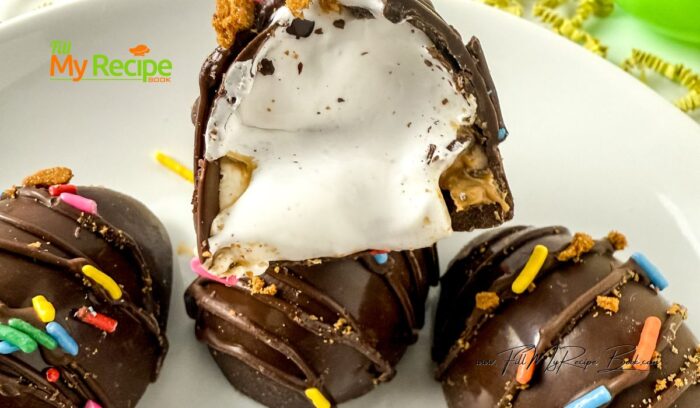
Discover the ultimate DIY recipe for homemade marshmallow filled chocolate eggs, perfect for Easter. This creative chocolate idea involves melting chocolate in the microwave or on the stovetop to mold the eggs. They are filled with fluffy marshmallow fluff and creamy cookie butter, along with Biscoff cookies, and adorned with vibrant sprinkles. These delightful Easter eggs, made at home, are sure to be a hit with kids and adults alike. Use them for an Easter egg hunt, as snacks, treats, for everyone. Enjoy these Delicious No Bake Desserts with step-by-step instructions to ensure your success!
FAQ’s
How do you seal chocolate Easter eggs?
For these chocolate easter eggs filled with marshmallow fluff and cookie butter and cookies, in a molded chocolate outer the one side was sealed with melted chocolate, making the bottom chocolate side flat.
How do you get chocolate out of Easter egg mould?
To release the chocolate easter egg out of the mold just tap on the side and with the same swoop tap it on the flat surface to release the chocolate on the side. With this recipe the inside would be already filled and the chance of the chocolate cracking is minimal.
How long can chocolate Easter eggs last?
These eggs are best at room temperature but can be enjoyed cold as well. They can be stored in air tight container in a cool dry place for 2-3 days. In the fridge for 5 days.
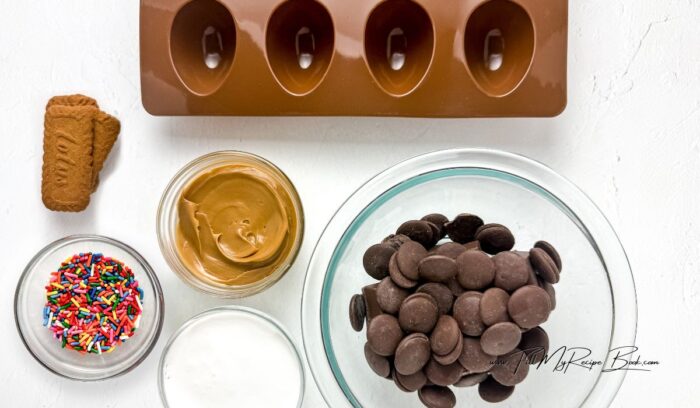
Ingredients for Marshmallow Chocolate Eggs Recipe
- Chocolate Melts: A type of candy melt or a type of compound chocolate. Use chocolate chips to melt instead.
- Creamy Cookie Butter: Is a sweet spread, you can use nut butter or chocolate spreads with nuts.
- Marshmallow Fluff: It is a marshmallow creme. Alternatively you can mix up egg whites with salt and corn syrup with some icing sugar.
- Bischoff Cookies: Are a caramelized cookie. Can use ginger snaps or chocolate chip cookies.
- rainbow sprinkles: Adds colorful seasonal garnish to the chocolate easter eggs.
- Mold for the easter eggs shell.
How To DIY Easter Eggs
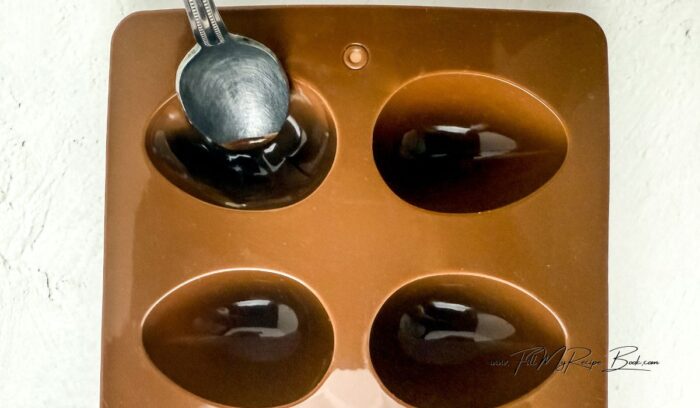
STEP 1. Place the chocolate melts in a microwave safe bowl, melt them in 30 second intervals until its liquid.
Pour a spoonful of the chocolate in the first slot of the egg mold and use the back of a spoon to smooth the chocolate around inside of the egg shape. Do this for each egg slot in the mold.
STEP 2. Put the mold in the freezer for 10 minutes so the chocolate will solidify. Then pour a second coating of chocolate in mold and use the back of the spoon to spread the chocolate along the sides to make the chocolate egg stronger.
Then put the mold in the freezer for 5 mins. Once out of the freezer, sit the egg mold on a flat surface.
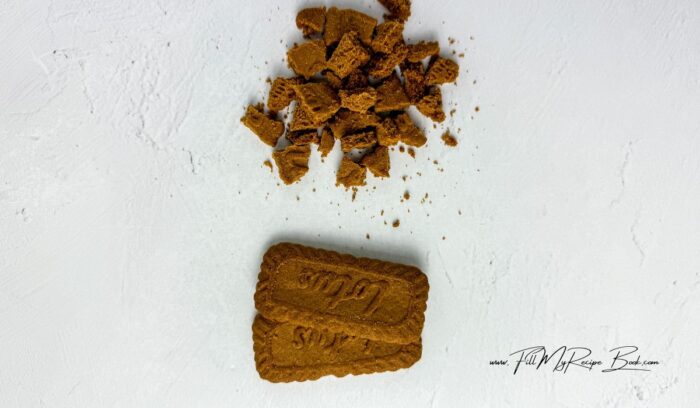
STEP 3. Take some of the cookies and crush/break them into tiny pieces. Put them aside for later.
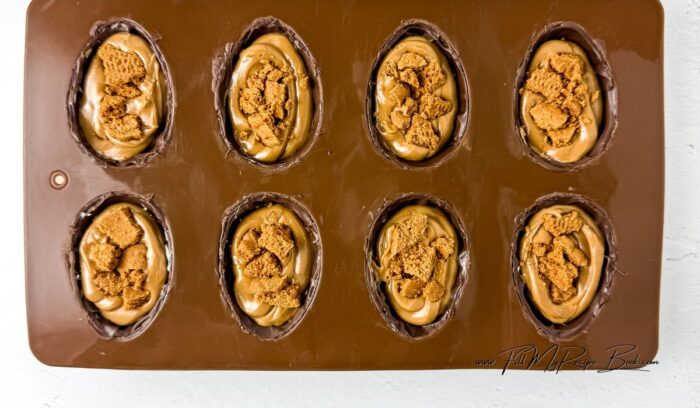
STEP 4. Put the marshmallow fluff and the cookie butter in their own piping bag. Cut a small hole in the tip. Pipe the marshmallow fluff into the egg slots, half way.
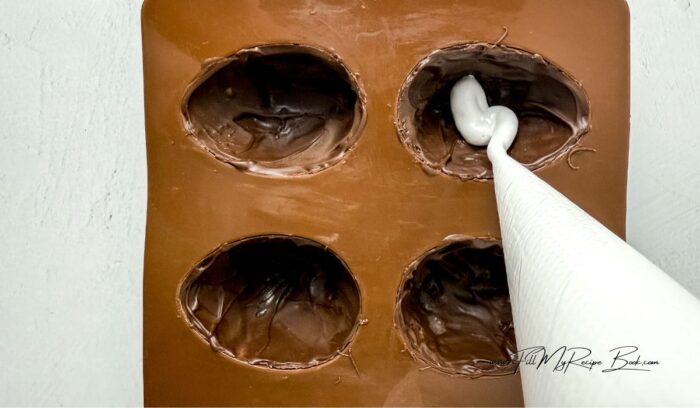
STEP 5. Next pipe the cookie butter on top of the marshmallow fluff, and sprinkle some of the cookie pieces over the cookie butter.
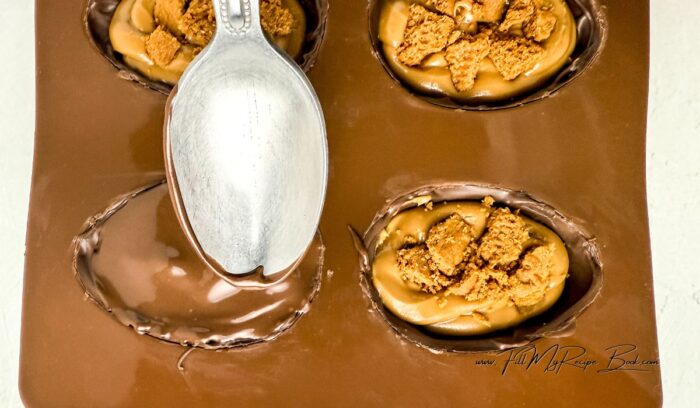
STEP 6. Put the remaining chocolate in a piping bag. You may have to reheat the chocolate for 30 seconds. Cut a small hole in the tip of the piping bag of chocolate, then pipe the chocolate over the cookie butter pieces to seal the egg closed. You can smooth out the chocolate if you like.
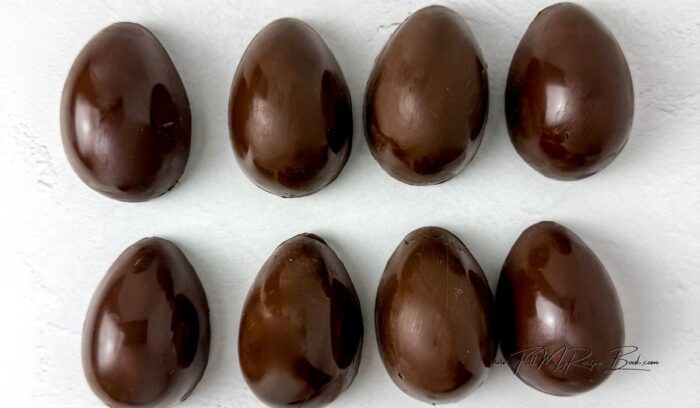
STEP 7. Put the eggs in the fridge for 5-8 minutes to solidify.
STEP 8. Carefully remove the eggs from the mold and turn them upright. Clean off any extra pieces of chocolate that are hanging off edges of the chocolate eggs.
STEP 9. Using the chocolate in the piping bag, drizzle chocolate over the egg.
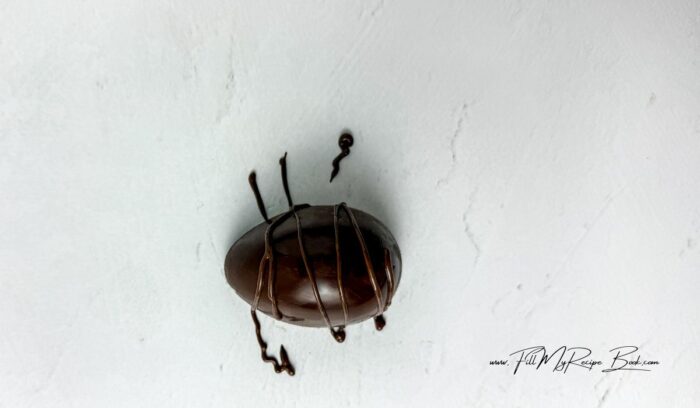
STEP 10. While the drizzle is wet add some the crushed cookies and sprinkles on the eggs. Once the drizzle has set the eggs are done.
- Easter eggs are best at room temperature, enjoyed cold as well.
- Store in air tight container in a cool dry place for 2-3 days. In the fridge for 5 days.
Have fun and be creative with the decorations on these eggs, use different sprinkle and different color chocolates.

Serve and Enjoy!
REcommendations
(click the highlighted heading or image for the recipe)

- 12 Easy Easter Snack Recipes
- Easy Easter Recipe Ideas
- Kids Easter Egg Decorating Ideas
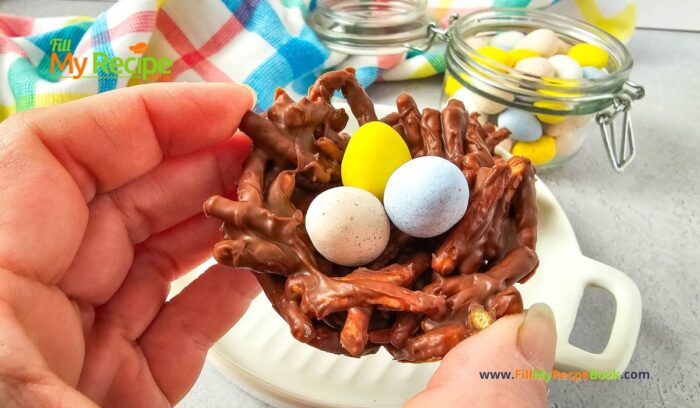
- 10 Homemade Chocolate Easter Eggs
Marshmallow Chocolate Eggs Recipe

Marshmallow Chocolate Eggs Recipe with cookie butter. Best DIY homemade idea with a mold, filled marshmallow fluff, decorated with sprinkles.
- Prep Time: 35 min
- Cook Time: 20 min setting
- Total Time: 55 min
- Yield: 8
- Category: Desserts, snack, treats
- Method: microwave, chill to set
Ingredients
- 10 Ounces Chocolate Melts
- 4 Ounces Creamy Cookie Butter
- 4 Ounces Marshmallow Fluff
- 1 Pack Bischoff Cookies
- rainbow sprinkles
Instructions
- Place the chocolate melts in a microwave safe bowl, melt them in 30 second intervals until its liquid.
- Pour a spoonful of the chocolate in the first slot of the egg mold and use the back of a spoon to smooth the chocolate around inside of the egg shape. Do this for each egg slot in the mold.
- Put the mold in the freezer for 10 minutes so the chocolate will solidify. Then pour a second coating of chocolate in mold and use the back of the spoon to spread the chocolate along the sides to make the chocolate egg stronger. Then put the mold in the freezer for 5 mins.
- Once out of the freezer, sit the egg mold on a flat surface.
- Take some of the cookies and crush/break them into tiny pieces. Put them aside for later.
- Put the marshmallow fluff and the cookie butter in their own piping bag. Cut a small hole in the tip.
- Pipe the marshmallow fluff into the egg slots, half way. Next pipe the cookie butter on top of the marshmallow fluff, and sprinkle some of the cookie pieces over the cookie butter.
- Put the remaining chocolate in a piping bag. You may have to reheat the chocolate for 30 seconds. Cut a small hole in the tip of the piping bag of chocolate, then pipe the chocolate over the cookie butter pieces to seal the egg closed. You can smooth out the chocolate if you like.
- Put the eggs in the fridge for 5-8 minutes to solidify.
- Carefully remove the eggs from the mold and turn them upright. Clean off any extra pieces of chocolate that are hanging off edges of the chocolate eggs.
- Using the chocolate in the piping bag, drizzle chocolate over the egg.
- While the drizzle is wet add some the crushed cookies and sprinkles on the eggs. Once the drizzle has set the eggs are done.
- Serve and Enjoy!
Notes
- These eggs are best at room temperature but can be enjoyed cold as well.
- They can be stored in air tight container in a cool dry place for 2-3 days. In the fridge for 5 days.
- Have fun and be creative with the decorations on these eggs, use different sprinkle and different color chocolates.
This post may contain affiliate links, where we earn from qualifying purchases. See more details in the policy page. Does not effect your purchase cost.
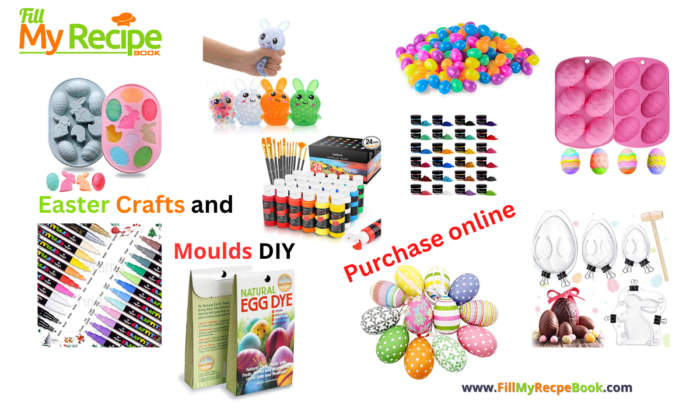
10 Easter Crafts and Molds DIY
10 Easter Crafts and Molds DIY ideas to create for easter and all the DIY crafting material and molds for painting and chocolate eggs.
Leave a Reply